Tuesday, June 14, 2016

How To Make 4 Inch Mosaic Coasters Using Various Tesserae - Part Two

This weekly post will be dedicated to learning how to make basic mosaics. Come along with me as I show you how easy and fun it can be.

Not all the basics will be done using coasters. I have 3 good examples and easy ways to learn how to get used to the different kinds of tess. Making coasters is the most cost-efficient and gives you all a "taste" of how fun mosaics can be.

In this post I've shared the way to make two 4 inch coasters from start to finish using acrylics paint, glitter and tempered or crash glass. Please refer to the previous post to see how to grout: mosaic-coasters-part-one

For this project you will need:

1st part:
  • Tempered glass (often called TG)
  • PVA glue or MAC Glue
  • Paint brush 
  • Acrylic paint
  • Glitter 
  • Tweezers
  • 2 MDF or wooden coasters
2nd part:
  • Sanded grout
  • Gloves
  • Dust mask
  • Wooden craft stick
  • Newspaper or plastic
  • Clean, dry rags
  • Painters tape (optional)
  • Felt pads (optional)
  • String or ribbon (optional)

This project is recommended for older children 8 years of age and up due to the temperament of TG. Once it's in pieces, it continues to splinter and break, often causing tiny shards to form. It must be handled with care at all times.

Art Level: Beginner/Intermediate
Difficulty: Medium

Finding tempered glass is not difficult but might take some visits to your local Habitat for Humanity ReStore. Shower doors are made from tempered glass. You can find table tops and shelves there too. We have quite a few in our area and I'm hoping you can find one close to you. If you can't find one, let your friends and family know you are interested in this glass to try a mosaic with. If you know a local contractor who replaces shower stall doors, or a friend's car window or patio furniture table top break, you've got a lot of glass to play with if they remember you wanted it! Don't be afraid to ask.

I gave away a glass shelving system a few years ago to a family member. Over time, one or two shelves have broken due to kids and animals doing what they do so well and she sweeps it up and brings it to me. I've gotten quite a bit online from an office supply store when they have sales on tempered glass shelving.

Some TG has a green tint to it. You can't really see this looking straight on but if you hold it on an angle, you can see it.

Below are photos as to how to make these really pretty coasters. These would make great holiday gifts!


This photo above shows glitter, MDF coasters, tweezers and tempered glass. This plus acrylic paint and glue is all you'll need for this mosaic. I recommend using tweezers especially made for mosaic use. You can order tweezers like the ones I use above online. I suggest doing an search for them under "mosaic tweezers" to find the ones you think might work for you and your future projects. I use the ones offered by Mosaic Tile Mania.

Paint both sides of the MDF coasters.

Before the paint on the 2nd side is dry, sprinkle some glitter on it. Isn't this pretty?


I find it best to tilt the coasters to get rid of excess glitter before the paint is completely dry. I like to show a little of the paint under the glass as well as the glitter.


For this project I use MAC Glue as my adhesive. It is expensive as far as glue goes, but there is nothing better than using the right glue for the job. It lasts a long time and not much is needed. The amount I've poured out here is enough to cover one coaster. You can use a PVA glue (shown in the first "how-to" post) if you don't want to invest in this glue. If you think you might like to try glass-on-glass mosaics in the future, please consider purchasing this glue (Editor's Note: Buy during the summer months only - it does not ship well in winter months, especially if it freezes). For this project, the white glue I used for the first set of coasters can be used. That glue takes about a week+ to dry when using tempered glass. MAC Glue dries within 24 hours under all glass.

Find and carefully place pieces of tempered glass for your project and apply over the glue.

Only add glue to a small portion and take your time with this glass. Placement is important.
Let your mosaic sit for 24 hours or more (as explained above) depending on what glue you use.
This shows the tint in the tempered glass and explains why I like to use MAC Glue.

Once the glue is dry, you can tape up the bottoms of the coasters if you're messy with grout. I used white sanded grout for mine.


Pretty and functional.
I've added felt pads to the bottom, tied them up with some simple ribbon. I show how to do that and give sealant information in Part One at the end of the post.


Any questions? Please leave comments or send me a private message if you have anything you'd like to discuss.

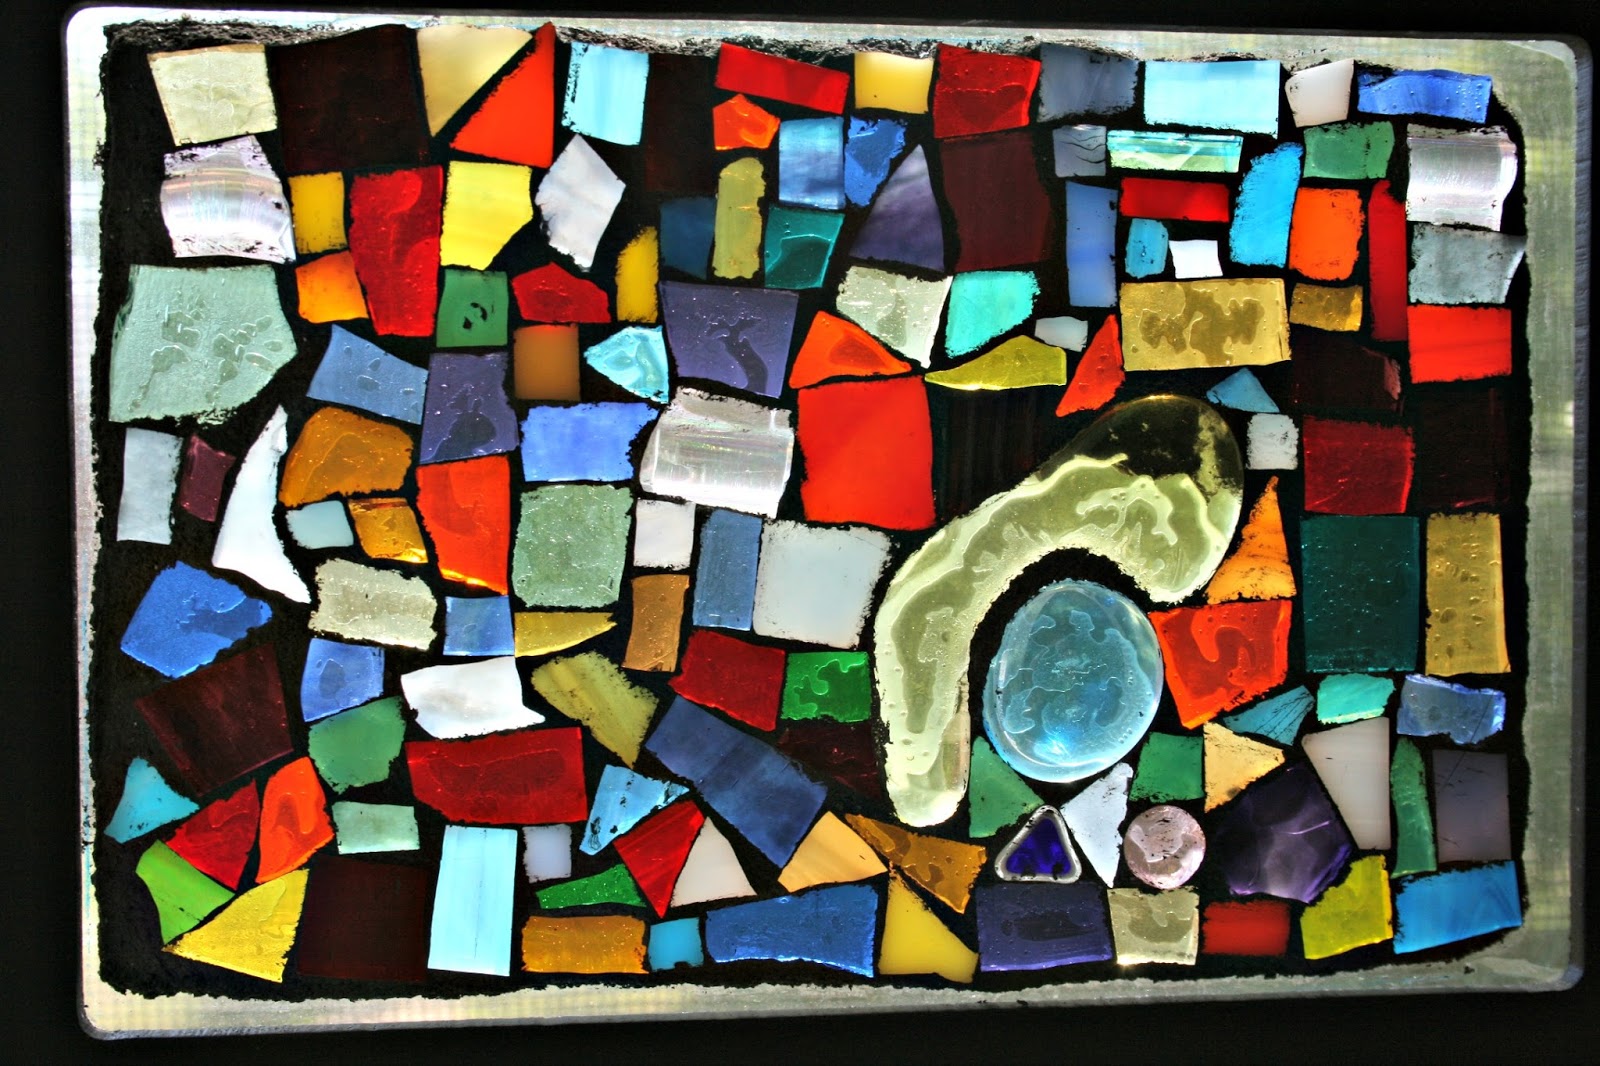
Next week, Part Three is the last of mosaic coasters fun! That post shows how to use scraps of stained glass. Woo-hoo!

Support Independent Artisans, Designers and Crafters for your gift-giving needs all throughout the year. Thank you!~Cindy, EarthMotherMosaics

Thursday, June 9, 2016

Announcement - I've found a new online site

I am very pleased to announce my association with a new online shop called Our Village™. I'm so excited!

It's very new but I hope to have a good long relationship with this one. Please take a look around and see what an awesome site this is.

Our Village™ is more than just a place for artisans, crafters, makers, and small shop owners to sell their products to support themselves and their families. The mission behind Our Village is to provide support to organizations that are dedicated to making the world a better place.

Twenty percent of their gross revenues are donated to support family service, transformational organizations throughout our country. Based on the African proverb “It takes a village…”, as Our Village grows, so will the charitable efforts as worthy organizations across America are selected to receive financial support. To start, they thoughtfully chose an organization from Our Village’s hometown of Chattanooga, Tennessee.

To learn more, please go to the website and read the "About Us" section and watch the video.

Below is the link for my shop. Please consider shopping here, not just at my new shop but on the site's other shops too and helping a good cause at the same time. There is no downside. Everybody wins!


 https://www.ourvillage.com/index.php/marketplace/seller/collection/earthmothermosaics


My banner at the moment.


Support Independent Artisans, Designers and Crafters for your gift-giving needs all throughout the year. Thank you!~Cindy, EarthMotherMosaics

Wednesday, June 8, 2016

In The Studio - Wednesday

Over the past 11 years that I've been making mosaics, I've had my share of problems with them. When things go wrong with mosaics, for me, anyway, it is mostly due to using the wrong color of grout or finding the grout seeps under the glass.

Examples:


Wrong grout color choices. Neither work here. I made this mosaic in 2008. I had a lot to learn! If I were making this today, the pieces would be closer together and the grout color would have been a light brown or grey. Even black would have worked but as I noticed when I found the notes that went with this mosaic, I was out of black at the time I made this. Patience was never a strong thing with me, so I went with what I had: green and white. Yuck.
One of the newest mosaics I've made recently and still, this can happen! If you look closely at the yellow "squiggle", you'll see at the top how grout crept under a spot where glue wasn't properly added. This was a good reminder for me and the next 2 mosaics I made like this, I used a glue/water combo with a paint brush over the entire thing to try to prevent seepage. I'm not sure it always works, but it will help.
 Rarely do my mosaics break, thank goodness, but every so often, I drop something, someone slams a door, or I do something careless which causes the mosaics to plunge to their death.

I thought I'd share some things that have happened this week, but also something that happened over a year ago and not until today have I decided I can fix it. After accidents happen here for me, I have to put them away or out of my line of vision because I naturally get kind of upset. That's how it went with this candle holder.

Very fixable ... grout broke off mostly in this one spot after I dropped this. I put it aside (see the dust?! hahaha) and haven't wanted to fix it until recently. I should be grouting this weekend and will put this in the pile to be fixed.

This is one of the new mosaics I just made. The chain that was on this got stuck in my window and when I closed the window, the chain broke. But it did it slowly. I walked away and the chain broke causing the mosaic to fall onto the windowsill which hit a gazing ball and a bottle which tumbled and hit another mosaic sitting on a shelf underneath, which made that one fall to the floor. NO mosaics broke, but the frame split from being pulled too tightly.

As this was plummeting to its death, the frame got scratched from the mosaics in front of it. I'm amazed the mosaic itself did not break. But it's glued into the frame, which means I have to fix the scratches and the split at the top and keep it or give it away at some point. This is no longer for sale.

Using a necklace chain instead of the chain that was on it is a good alternative until I can afford some picture wire or something sturdier.
A series of events caused this to happen. Let me explain: we live in a 2 story apartment building. Our apartment is on the second floor. Every day there is a possibility that someone will slam a door downstairs and when that happens, mosaics wobble a little bit. Sometimes after a month or so, I walk around my room and straighten out the wall art that gets tilted due to the kids running around and the doors being slammed. It is apartment life for a mosaic artist. Well ... THIS mosaic artist. There were 2 mosaics sitting above this plate waiting for glue to dry. The door downstairs slammed, the top mosaic wobbled and hit this plate and a few other things on the way down. Again, THAT mosaic was not broken, but this one wasn't so lucky.

The good thing about mosaics is that they are bits and pieces of other things. The best thing about mosaics is even when they break, they can be given a new life and still have redeeming qualities. While I am especially sad about this beautiful mandala plate, I am reminded that without broken pieces of glass and mirror, I wouldn't have made this. I am also fairly sure I can't repair it as it is, but there is a really good possibility that maybe a year from now I will pull it out, inspired to add it to something new. Such is the thinking of a mosaics artist. Thank goodness. I am in mourning for this mandala plate right now ... really sad it broke, but am glad I have some skills and knowledge and know just because it's broken, doesn't mean it can't be used.

There's a really good possibility you will see this placed or altered in some way in the future. Meanwhile, I'm going to go lay down and have a good cry and maybe take a nap.

Support Independent Artisans, Designers and Crafters for your gift-giving needs all throughout the year. Thank you!~Cindy, EarthMotherMosaics

Tuesday, June 7, 2016

How To Make 4 Inch Mosaic Coasters Using Various Tesserae - Part One

Some of the best fun I have is sharing what I know with others who are truly interested in making mosaics. Over the years I've offered advice, gathered resources, given a few classes and hope to give more classes within the next year or so. Meanwhile, I thought it would be fun to share some basic information here for those who want to give mosaics a try. Starting with something small and working up to harder and more intense pieces is the best way to learn.

This weekly post will be dedicated to learning how to make basic mosaics. Come along with me as I show you how easy and fun it can be.

In this post I've shared the way to make two 4 inch coasters from start to finish using glass and vitreous tiles. It also shows how to grout. The posts following these will show only the techniques on how to mosaic and not grouting information. You can refer to this post any time to refresh your memory on how it is done.

For this project you will need:
  • Glass and/or vitreous tiles (I recommend both)
  • PVA glue
  • Paint brush
  • Water
  • 2 MDF or wooden coasters
  • Sanded grout
  • Gloves
  • Dust mask
  • Wooden craft stick
  • Newspaper or plastic
  • Clean, dry rags
  • Glass nippers (optional)
  • Acrylic paint (optional)
  • Painters tape (optional)
  • Felt pads (optional)
  • String or ribbon (optional)
This project is recommended for children 5 and up (young children between 2-4 can make these with adult supervision however I do not recommend they do the grouting process on their own).

Art Level: Beginner
Difficulty: Easy

We'll first start off with some basic information before getting down to the "good stuff".

Terms often used when creating mosaics:

Substrate: The base or backing for a mosaic. This is generally what the tesserae are stuck to.


Tesserae: The plural of "tessera", a name given to pieces used in a mosaic. Originally tesserae were the cubes of stone used in ancient classical mosaics, but now the term is used for pieces of any kind of mosaic material, whether they are ceramic, stone, pebbles, glass or some other substance.


Pique assiette: Pique assiette is a style of mosaic that incorporates pieces of broken ceramics - plates, dishes, cups, tiles - and other found objects into the design. The longer answer, to think about the appeal and expressiveness of pique assiette, must take in ideas of lateral thinking, humor, the art of recycling, and the significance of found objects.


______

The above information was found at The Joy of Shards website. This website has definitions/descriptions on all things relating to mosaics. If you have the time and are interested, it is well worth taking a look: http://www.thejoyofshards.co.uk/glossary/index.shtml

********

Websites for supplies:
MDF Coasters: I buy them through amazon.com. You can get Darice DIY Crafts Coaster Set MDF Square 6 pack 4 x 4 inches (3-Pack) at a very reasonable price. There's a good possibility you can find the exact same thing in your local crafts store!
Glue: I've gotten all kinds of glue over the years and my favorite is Aleene's Original Tacky Glue. You can find this almost everywhere. All crafts stores carry it and you can order it online in many places. The link I share here is from Michaels. This is water-based PVA (Polyvinyl acetate) glue, not recommended for outdoor projects. When wet it is white, but it dries clear. When mixed with water, it works well as a primer for this kind of project (see photos below).
Glass and Vitreous Tiles: I always get these online through the following distributors. Craft stores carry them too but I recommend, if you have the time, to order them online. You'll have a better selection and often find some really great deals.
There are many places to purchase these but here are a few to get you started:

Tools: I purchase my glass cutting tools online to get the best I possibly can because I use them all the time. You can find those here:
https://www.witsendmosaic.com/product/108/LEPONITT-G30C-Wheeled-Nippers

They look like this:

If you are just toying with the idea of making mosaics and aren't sure you want to invest in a lot of supplies, your nearest DIY or craft store carry glass nippers. You don't need a glass cutter for this project.

 ********

Let's get started!

1) It's always a good idea to prime your substrate before you begin working on it. You can get primer paint at your local DIY store such as Kilz however if you're only doing small pieces or just not sure you'll be making a lot of mosaics, using the glue/water wash method works really well.

The following photos show you how it's done. We recommend a ratio of 3:1 (glue:water).


Paint the wash on generously and allow to dry. Depending on the weather depends on the drying time. For us here in PA in June, it takes about a 1/2 hour to dry.

Now you can start making your mosaic! Woohoo!!!

Please note: If children are going to be doing this project, and I highly recommend they give it a try (my grandson loves making these), make sure they handle the pieces carefully. Even though tiles are less likely to be sharp, they are made of glass. Just keep that in mind and you will be fine.

2) Gather up your tiles and decide on a design. I like to do an abstract design, fitting in the pieces as I go to fill up the coaster. You can draw a simple design on the coaster if you'd like.

Add a little glue and start putting the tiles down. You have a little leeway with this glue to pick up the pieces and maneuver them.

Lots of beautiful colored tiles from years of collecting! Aren't they pretty?

Continue to fill up the coaster with glue and tiles.

This coaster required a few tile pieces to be cut using nippers.

All finished and ready for the next step!

I painted the back of each coaster before grouting them. You can leave them as they are or paint them after you grout. It's entirely your choice.
3) Let the coaster(s) sit for at least 24 hours before grouting.

Now let's grout!

I use sanded grout that I get from our local DIY store. For these coasters, I'm going to use a tan colored grout.

Besides grout and water, you will need:
  • A container with which to mix grout and water.
  • A wooden craft stick or other stirring device.
  • Gloves.
  • Dust mask (recommended).
  • Newspaper or plastic to protect your surface.
4) Mix grout and water together slowly getting the consistency of peanut butter or brownie batter.

Following is a group of photos sharing what I do and how I do it.

I use sanded grout that I get from my favorite DIY store, an old plastic container, frozen pop sticks,
 water and a plastic grocery bag.

To prevent grout from getting all over the back of my mosaics, I use painters tape to cover.
 This is only really necessary if you are a bit sloppy (like me) or letting children have some grouting fun.

Put on the dust mask and mix the grout. This photo shows the consistency of grout and water.
 The stick is standing up on its own.  You need to let the grout slack for 10 minutes.
 This is usually when I tape the bottom surface of the coasters. When I'm finished, the grout is ready.

Start adding grout to the mosaic, making sure all the spaces are filled in nicely.

Allow the coasters to sit for about 5 minutes after adding the grout.
 You will see a hazy effect start to happen as the grout dries. Don't panic!! That's a good thing!

When the haze happens it means it's almost time to start cleaning off the grout.
 I use dry cloths to wipe the grout off.

These are looking good! Ready to start cleaning.

This is the first initial cleaning off of the grout. I normally wipe my mosaics with dry cloths 2-3 times within an hour.


Once grout is dry, remove the tape. I like to add felt pads to the bottom.

Wrap them using twine and give them as gifts for special occasions.

Hey ... they work! Yay!!
Please note some folks like to use a sealant on their coasters, to protect the grout. You can find sealant in your favorite DIY store. I personally no longer use it due to health issues. I create my mosaics in a small space not conducive to good air flow/circulation. If you use a sealant please follow the directions and always make sure you protect yourself from fumes!

I hope you've enjoyed the first lengthy "How To" installment. If you have any questions about this project or anything I've mentioned here, please let me know. I'll be happy to help.

Part Two's "How To" will show how to use acrylics, glitter and tempered or crash glass to make a mosaic. Again I'll be using coasters because a small piece of art can have a big impact.

I'll also share a few links of people who inspire me and people who share "how to" information that I keep handy for my own use.


Support Independent Artisans, Designers and Crafters for your gift-giving needs all throughout the year. Thank you!~Cindy, EarthMotherMosaics

Monday, June 6, 2016

On A Personal Note ...

Monday's posts will be sharing some thoughts and other personal things going on in my life. You do not need to read these if you feel they aren't interesting to you, however, if you connect with a few thoughts I share here, please feel free to follow along. These posts are mostly written for me and in hoping others might find a connection to what I'm going through. For those who do feel it, welcome to my world. For those who aren't as inspired by personal blog posts, come back soon because I will always share what's going on "In The Studio".

Recently, while the internet was limited, I learned I have Type II Diabetes. I wasn't surprised nor was I upset. When I found out, relief washed over me. I knew I was having troubles, I knew I was feeling oddly and couldn't really figure out why. Once the new doctor I was able to go to confirmed this diagnosis, I relaxed and realized there is a lot I can do to take control. And on a side note, I have a new doctor thanks to my daughter's vigilance and work in getting me free insurance. It's been wonderful to get the blood work and medication without trying to figure out how to pay for it without an income. Bless her and those that work with this program through the state.

Now that I am starting to make some personal changes like walking (when it's not too hot) and food choices (not a big difference in what but how much) I am confident I can find the way to live with diabetes and continue on my path. I have to get used to the medication ... it has made eating a "chore" because I'm never hungry, once in awhile I get dizzy both from blood sugar drops and the medication and I've been extremely tired and listless. I will get used to it, understanding more what it feels like and adapt and adjust accordingly.

It's also been a rough week for someone who has empathy as I do. There's been a lot going on with my circle of friends and family members. Each upset, disease, death has been taken in. It's a reminder that I am an "angst-sucking sponge" when I start to feel so tired. And I AM tired.

I'm actually exhausted ... unable to stop worrying about everything around me, feeling sad a lot, unable to pull myself out of the negative space I'm in (sooo not like me!). I don't usually stay there for this long. I feel let down, uninspired, unusually cranky, filled with static electricity and unable to just shut it off. All the tricks I use to keep myself in a positive frame of mind when I struggle like this hasn't worked this time. Or not yet ... it does help but I don't stay in a positive frame of mind for long. That is what's different about folks like me who are empaths.

I AM still having physical troubles so that is some of it, I'm assuming, and will eventually become less of an issue as the months progress. What I'm feeling now is more likely how I feel emotionally for those around me, not just what I'm going through; a physical thing and a large financial thing (which is why I have a GoFundMe debt fundraising campaign) and that leads to personally feeling way out of whack. There's some weird stuff going on right now!

I would love nothing more than to grab all the folks struggling right now, wrap them up like burritos and protect them in bubble wrap until they are all safe, happy and secure.

Recently I was ready to shut down completely or cry a lot. I didn't do either. I haven't allowed much quiet time for myself lately ... that was the first mistake when I start to feel this way (it happens every few months) and I can fix that by shutting off and just being silent with my art, so I'm gonna! My diet is changing, so I should feel better at some point soon. High protein foods are so good for so many reasons but they help in becoming grounded: the number one benefit for empaths.

To feel more like "me" again, I believe I'm going to have to feel a little more secure in "the knowing". I'll find it through meditation and I can do more of that too, so I'm gonna! This is: the knowing that all is well. I'm breathing in and breathing out. I'm able to move around, I can see, speak and smile. I always believe everything happens as it should, people and circumstances arrive on time, when they should. I have to remind myself of this, so I'm gonna!

Meanwhile, please, send some love out into the Universe, it needs it. Close your eyes and send lots of white light not just to me but to everyone throughout the whole world.

Namaste,
Cindy

Thursday, June 2, 2016

I'm Back!!

I don't know if many of you realized I've been away from blogging for three weeks. We've been without the internet, or had limited service during that time and I wasn't able to write in my blog.

While away I decided to revamp my posts. I am going to keep a few things I liked: "In The Studio" posts for sure will stay. I'm going to add an "how-to" post each week. Some people have mentioned wanting to try making a mosaic but being afraid to start. I would love for everyone to just come to my future workshop space and learn some basics and intermediate mosaics. But until I get that part of my life figured out, I can share some things here.

I think it would be good to have some learning info in one central place, so I will be working on adding a post this weekend. I'm thinking of making a page to share some of the mosaics I have for sale, just as an additional place to purchase or order customs directly for those who like to read my blog, want to order something but really get tired of clicking on links and leaving the blog post to see what I'm selling. Now you shouldn't have to. I won't post everything I sell, but enough to give you something to look at without leaving the blog.

Meanwhile, Promo Blasts! will go away for a while and in its place there will be a personal post about my life on Monday's and possibly Friday's too. Some general things, some important things. A place for me to vent if I need it. You don't have to read those unless you really are interested but blogging for me has always been a way to express myself through writing, and I want to do that once more.

I'm not sure there will be any other posts but the FRESH START GoFundMe campaign is still going only not strongly at the moment. I could really use help with getting donations for that and I'm really not sure how to do it.

My vision boards for the next phase of business are looked at lovingly each day. I haven't forgotten where I want to go. I just put things on the back burner when other things became a bit more important.

So here is a quick grouping of photos of mosaics I've worked on while I was gone. Some are waiting for glue to dry, some just got listed. All are pretty cool, if I do say so myself.

Privacy screen - listed on aftcra

This vertical one is staying with me for a few reasons, but mostly because I love it too much to part with.
flower trivet - listed on aftcra
Large privacy screen - waiting for glue to dry to grout.
moon and sun plate in the window (second photo below shows how this same plate looks sitting flat on a surface) - listed on aftcra


Hummer and Groovy Flowers - waiting for glue to dry to grout.

Hummer and Groovy Flowers sitting in the frame on the windowsill - waiting for glue to dry (all the white you see in the background is glue, I used tempered glass to fill it in which is a clear glass).

Support Independent Artisans, Designers and Crafters for your gift-giving needs all throughout the year. Thank you!~Cindy, EarthMotherMosaics
Coming to the Ending of the Retrograde

I think I am fairly aware of the planetary activity and try to keep even more aware during the retrogrades when they occur. This time, howev...