Showing posts with label #styrofoamart. Show all posts

Wednesday, October 21, 2020

WIP Wednesday - The Tower of Now and Cornflower Sun

 I didn't post on Tuesday because I didn't have anything new, tess-wise, to show or share. But today, I have two works-in-progress mosaics to share, so hopefully that makes up for it.

First, the tower. It is coming along very slowly. The muse seems to want me to really take my time with it. I always listen to the muse.


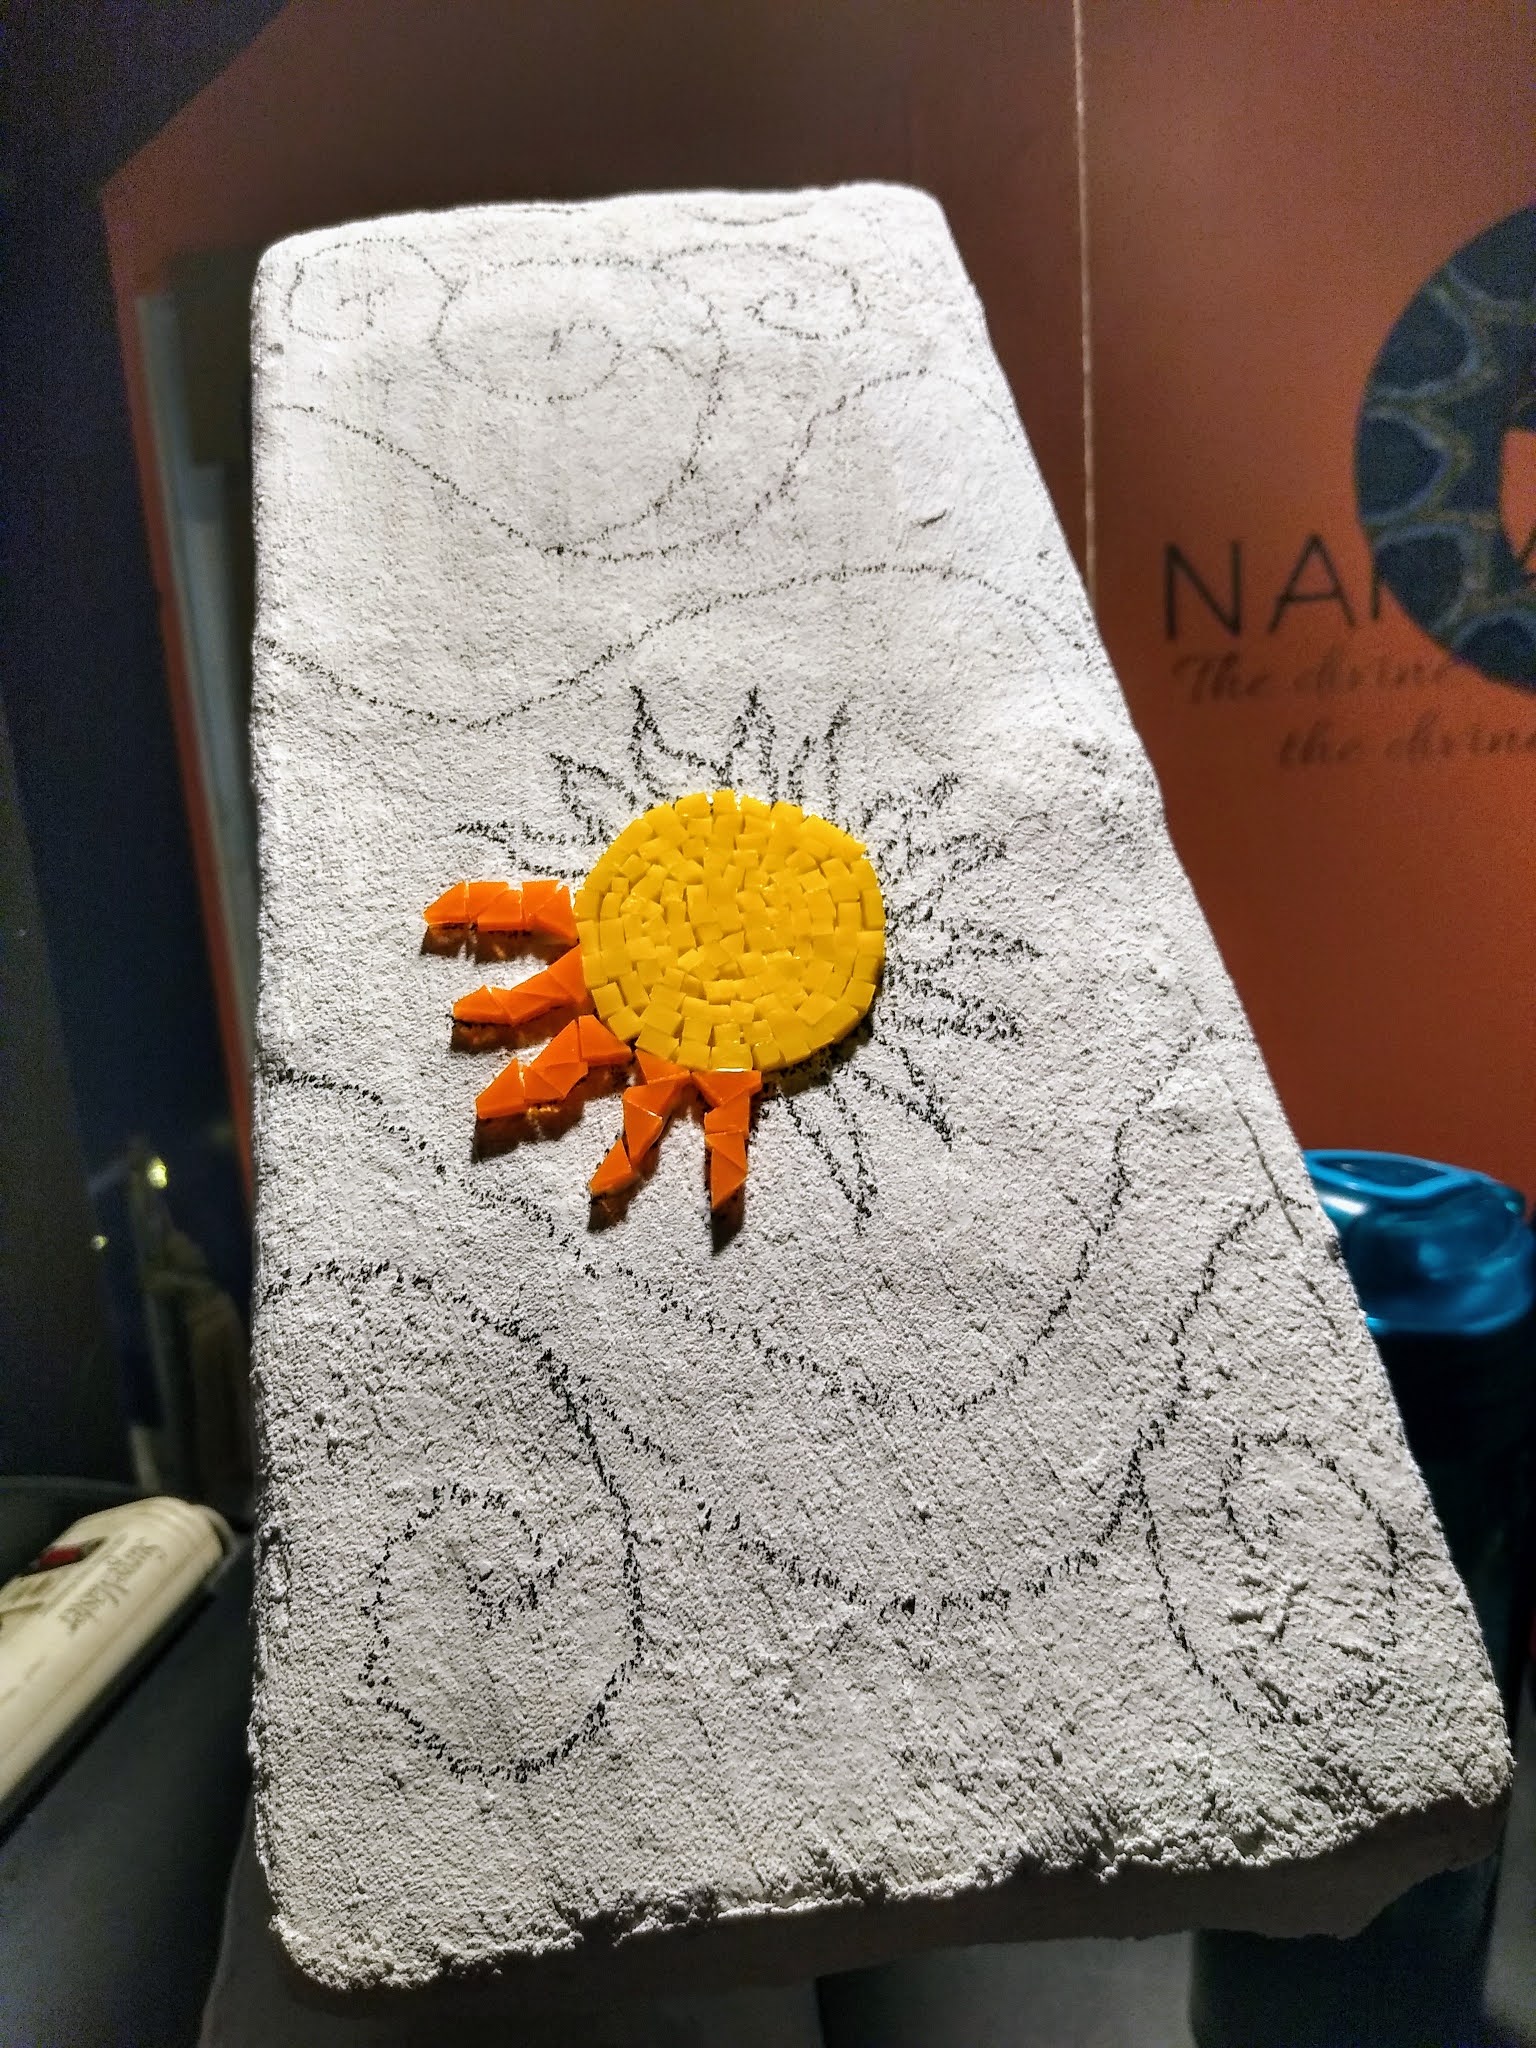
These shots above are of the roof sides. One has the sun, the other the moon with swirling clouds on both sides. The sections that need filling in will be done so with dish tiles.

The newest mosaic being worked on is Cornflower Sun.


Oh my how I love this. Iridescent glass is mostly used on this one. The stained glass center in yellow is not but the rest of it, shines beautifully in natural light. I dig it! This is taking no time at all to complete. I did what you see above in 2 sittings, approximately 2-1/2 hours total so far.


Support Independent Artisans, Designers and Crafters for your gift-giving needs all throughout the year. Thank you!~Cindy, EarthMotherMosaics


Wednesday, September 16, 2020

WIP Wednesday - Styrofoam Mosaic Shrine continues

 The shrine has now been dubbed "The Temple". It's the muse's wish. I never argue.

The structure was put together using thin-set and fiberglass mesh in the areas where the pieces of Styrofoam come together. All the indentations in the Styrofoam were filled with thin-set on all pieces.


Thin-set and mesh are holding all the pieces in place.

The next step was the plaster cast strips.


The next step, another layer of thin-set. Then the fun begins with stained glass and dish tiles!


Support Independent Artisans, Designers and Crafters for your gift-giving needs all throughout the year. Thank you!~Cindy, EarthMotherMosaics


Wednesday, September 9, 2020

WIP Wednesday - Styrofoam Mosaic Shrine

One of the things I love the most about using Styrofoam is how lightweight it is and yet very sturdy most times. For my shrine, however, I need to make sure it will hold the pieces I've used to build it. To begin with, I taped the pieces, crudely cut in some instances (which I LOVE!) together to make pillars and the base.

You may have seen this in previous posts but I'm sharing as the "before" photo because once completed with mosaic magic, it will still have the same shape but look completely different.

I don't want to leave it all taped up and assume that will hold heavy tess and grout. What's needed is some layers of thin-set and plaster cast strips to bond things together and make it one piece instead of many pieces taped together.

I like using thin-set mortar for some things, especially if it should have strength to it. I mixed some of this up and used it in the joints.


I buttered it on the pieces and stuck them together. The color turns white when it's completely dry.


The circles and oblong indentations will also get some thin-set on them to make this as flat a surface as possible.

Here are the pillars, looking rather weird at the moment. They will get covered in thin-set and attached to the top and bottom parts soon.

After all the pieces are attached, I'll use plaster cast strips to cover the whole thing and once that's dry, I'll put more thin-set on it. Then it'll be ready for the fun stuff. The mosaic!

I'll share step-by-step how I do this as the weeks progress. This is going to be a fun side project in between making mosaics for my Etsy shop.


Support Independent Artisans, Designers and Crafters for your gift-giving needs all throughout the year. Thank you!~Cindy, EarthMotherMosaics

Friday - My Health and My Future With Art

 My grandson's 18th birthday party was at a skating rink. He and his friends had so much fun! On Wednesday, I had an eye exam to check f...