Showing posts with label #wood. Show all posts

Wednesday, December 2, 2015

In The Studio

This week is going in slow motion. It seems right after a holiday, everything goes much slower. I'm okay with that feeling and enjoy the long days of grouting and mosaic making magic. No frantic "must get it done!!!" feelings at all this week ... and I like it!

We had our Thanksgiving on Saturday, gathering all the fam together. We had a great time together. I usually try to take some photos but I spent most of the day cooking so when the time came to sit, I sat! I've decided after seeing this photo, that although I kind of enjoy looking like a Happy Buddha, I don't enjoy seeing all those chins that always seem to suddenly appear when I sit a certain way on this couch. It's only on this couch. Perhaps I should learn NOT to sit on it but do what my Dad does and lean in, standing up! But part of being a Happy Buddha is accepting what I look like and becoming unattached to it. Buddha has a lot of chins and seems perfectly fine with them. Easier said than done but I am going to work on that way of thinking more often. Until that time, from this day forth, I am going to be known as the Scarf Nana. I am wearing one now! Wish I had thought of it before the photo below. Sigh.


The Super Secret Mosaics Lab is going to open again in a few days when I'll be working on a gift for the Little Dude. He likes to play the PopCap game "Plants vs Zombies", so I thought I'd have some fun making him a mosaic rendition of that. Here's the inspiration, for those who have no idea what I'm talking about.


Wish me a lot of luck. I think I'm challenging myself a little too much when I decided to do this. But it's good to keep the juices flowing.

Grouting was done a few days ago. Much cleaning needs to be done on almost all of these before they can get listed, but I'm very pleased with the results.


I did need to rest for a day or two, enjoying leftover turkey sandwiches along the way, before starting on a new project.


I had some leftover glass and mirror cut from the gazing ball and decided to make some coasters. Simple design and sparkly glass and mirror. Cool!

I re-grouted the black bowl I've named "Dizzy". After dropping it a few months ago, a piece of the grout along the top of the bowl cracked and fell off. It, too, needs a lot of cleaning before it can be relisted, but it looks good once more. Yay!


Support Independent Artisans, Designers and Crafters for your gift-giving needs all throughout the year. Thank you!

Cindy

Wednesday, July 8, 2015

In The Studio - Part One

The grouting sessions have begun for the small 4 x 4 inch artist blocks I put mosaics on. These 10 blocks are going to different parts of the US in August from PA, KY, FL, TX and PR just to name a few. I'm thrilled to see them coming to life.


Each design is different in the center and I'd like the recipients to be surprised by what they see when these arrive. I will share a photo of what each center design looks like once I know the recipient received their block. The sides are all done in scrap glass for all 10. After I took this photo I got out the cleaning and scraping tools and went to work getting rid of the grout shown here in places (like the orange and white millefiori circle, for example).

I'll be grouting and cleaning for the entire month of July. Each day is different for me due to pain management. On days when I think I can grout and clean, I will do as much as I can. Then I rest for a few days. It's amazing how much mobility and strength I've lost over the winter and spring months.

I've finished and sent out the custom ordered peace sign!

after grouting - what a beauty!

the sides were covered in tiles and grout too

after painting sides and back and adding the D-ring

It was a complete joy to make this mosaic and I was a bit surprised by my sadness once I packed it up and shipping it out yesterday. I'm sad to see it go but happy it's headed to its forever home. Mourning the mosaics I make is not unusual but it doesn't happen often. And always takes me by surprise.

I worked on a scrap glass mosaic peace sign last week. Once grouted, it will be added to the online store.

10 inch scrap glass mosaic peace sign

I grouted the mosaic I made of the umbrella using cut up bits of doodle paper under glass. It came out really great. I like it!


This will eventually get added to Storenvy as well. Woo-hoo!

I also have 2 extra 4 x 4 inch artist blocks and I pulled one out to work on the other day. I grouted that and got it painted. I need a good camera day so I can list this one. Hopefully that will happen when the sun comes out again.


Flash photography isn't my favorite but it does show the different blue and white dish tiles I used in this. I used the chintz design and blue willow design along with orange stained glass. The design has a Japanese Maple leaf look to it, although I had no plans for that when I started. I LOVE when that happens!!

 Support Independent Artisans, Designers and Crafters for your gift-giving needs all throughout the year. Thank you!

Stay peaceful,
Cindy

Wednesday, December 3, 2014

In The Studio - Part One

It's been busy here In The Studio this week. Holiday gifts are behind schedule due to illnesses and the creative muse disappearing to sleep for a bit, I'm about 3 weeks off my initial scheduled.

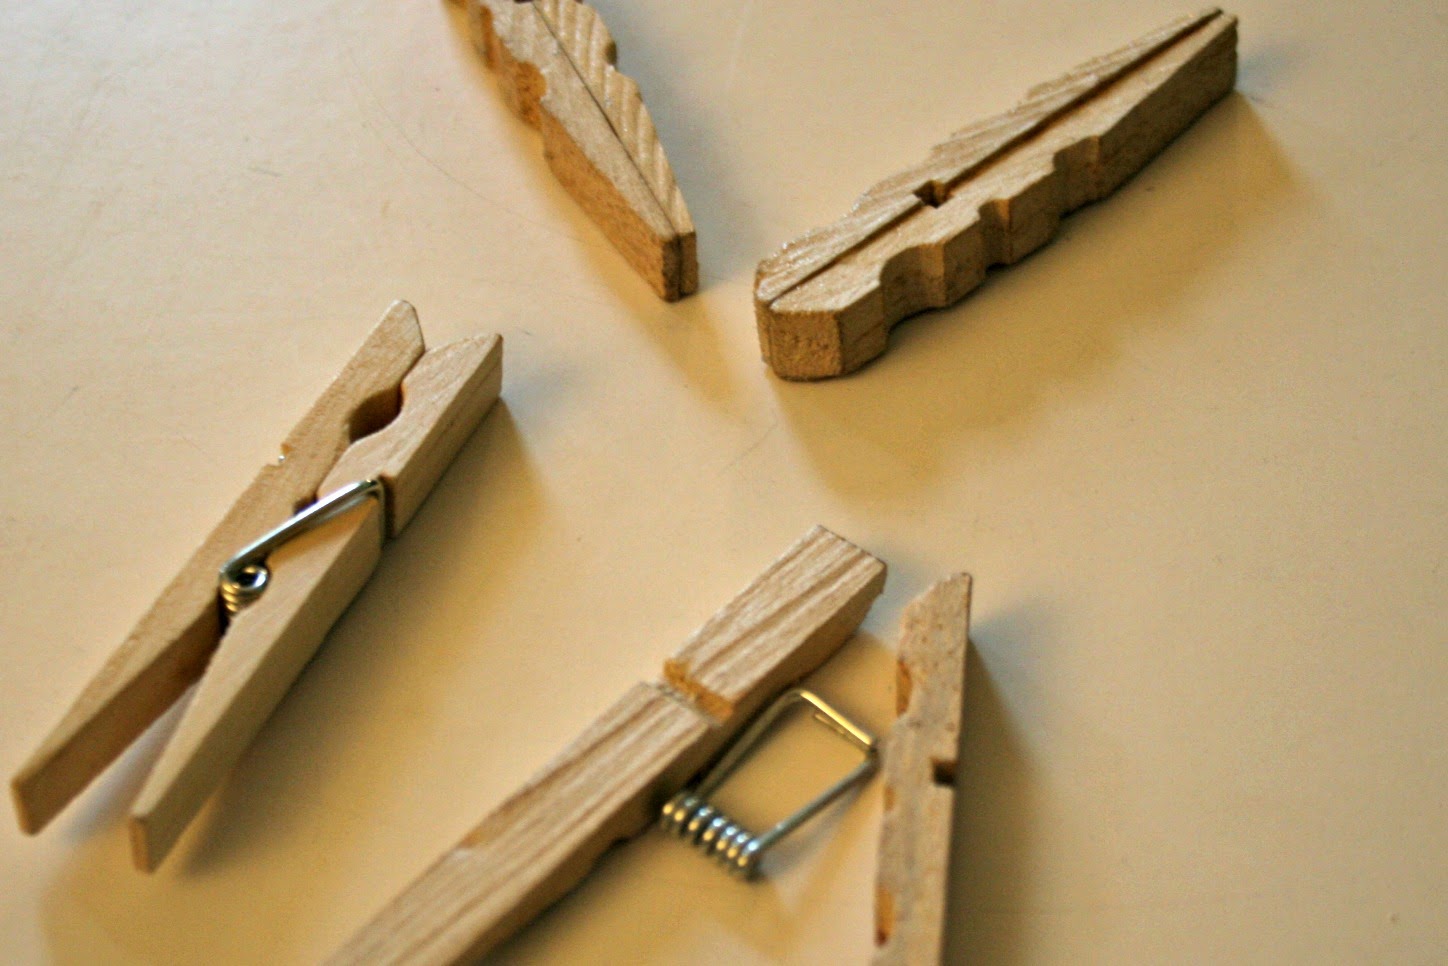
I'm making wooden snowflake ornaments from clothespins with my Grandson. He'll be gifting all his favorite people with them this year for Christmas.

They are fun but very time-consuming because I don't have a hot glue gun. I would suggest, if you decide to try these yourself, to borrow one if you don't own one.

I found the idea on Pinterest and have seen many blog posts sharing how easy they are to make, so I thought we'd give it a try.

The concept is simple but working with a 7 year old boy with a heavy hand became a challenge and frustrated us both. The first step, taking the clothespins apart ended in having broken pieces of wood and a slightly impatient child. To soothe us both he asked me if I would do the "hard part" and let him do the final touches. I agreed.

To spare his embarrassment, I didn't take any photos of the broken pieces but assured him he would be able to try doing these again next year if he wants to. I think his fingers got pinched in the springs and caused him to pull a little too hard. I watched him struggle with a few before I asked him if he wanted help. He sighed and said: "oh yes, please!"

You can see in the photos below what I've done so far.

take the clothespins apart, flip them and glue together
glue first 4 in a cross pattern
continue to glue until you have the shape of a flake
(NOTE: we wanted these to hang so I added clear nylon filament wire before gluing the last 2 pieces together)
glue is dry and this one look awesome

Although I love these, just as they are, we'll paint these white and sprinkle silver glitter on them.

I'll share a finished one soon!


Support Independent Artisans, Designers and Crafters for your gift-giving needs all throughout the year. Thank you!

Stay peaceful,
Cindy

Tuesday, October 22, 2013

Trendy Tuesday

This week I'm focusing on trends relating to leather, metal, wood and weddings. Not necessary in that order.

Trendy Tuesday 10.22.2013
Here's a wedding/anniversary gift idea from my shop.

Sunflower Stained Glass Mosaic Plate


Stay peaceful,
Cindy, Earth Mother Mosaics

Friday - My Health and My Future With Art

 My grandson's 18th birthday party was at a skating rink. He and his friends had so much fun! On Wednesday, I had an eye exam to check f...