Tuesday, February 4, 2020

Tesserae Tuesday

Grow, Bloom, Thrive


When I started working on this mosaic, I wanted it to be similar to the one I made and sold quite a few years ago entitled "Grow, Bloom, Fly" (shown below).


For some reason, as I started drawing and designing this mosaic, a bird or two just didn't want to go in there anywhere. Instead, the sun was on the opposite side of the original and clouds with a brooch of an angel sitting on a crescent moon holding a sapphire stone, the birthstone of the person this was going to (and mine as well) wanted to be placed where birds would have gone had I chosen them.


There was a good possibility this one would come out a little differently. And that is how it should be since my art is handmade.


As I watched movies, the cutting, gluing, placing of glass, mirror and ball chain commenced.

It was clear that I was enjoying this experience very much and I've already decided I'm going to make one or two more when the muse is ready. Along with more mandalas, I think we'll be busy for a while.


Once it was ready for grout, I knew it had to have a name but wasn't sure what it should be. Grow, Bloom, Thrive. Perfect! I first stumbled upon these words through Facebook a while back while searching for something completely unrelated (isn't that always the way?!).

It is the name of a farm and children's nature center in MA. Something about it spoke to me, especially when I saw this poem on their website:

"Here we are, in this place,
Standing, breathing, finding space.
Roots below. Sky above,
All as one in light and love."

On the website ( https://www.growbloomandthrive.com/ ), it says: "it takes a village" which made me think of all of us here today. Each helping in some small or large way, contributing to one another's health and well being. Giving time, love and patience as each of us grow, bloom and thrive.


This mosaic was made using ball chain and broken necklaces, a funky ceramic tile, glass gems, glass circles, hand cut mirror, stained glass and a broken brooch. I added the words I printed, colored in with blue alcohol ink using watered down glue to adhere (similar to Mod Podge). My signature, a peace sign, was added to the bottom right.


I'd like to thank all involved with this organization at:  https://www.growbloomandthrive.com/ for giving me so much inspiration in creating this mosaic for a very special person. Those interested, click on the link and go visit.


Support Independent Artisans, Designers and Crafters for your gift-giving needs all throughout the year. Thank you!~Cindy, EarthMotherMosaics 

Tuesday, January 28, 2020

Tesserae Tuesday

Last week I mentioned I'd be sharing Christmas gifts I've made for the next few weeks. The last 2 are on their way to their destination now. That means I can share them here when the time comes. I'm sharing them in the order I made them in.

The next one I made was this mandala.


Taking 3 different patterns (one of my own) and combining them, I created a really cool mandala. I wasn't sure how I'd get all the glass and circles on them. I knew this was a good start.


Adding ball chain and broken necklace pieces, stained glass, mirror, ceramic nano tiles and glass rod pieces, I started on the journey that was one of the most intense I've taken in quite some time.


Small pieces of glass and mirror required tweezers and a steady hand. This wasn't something I could zip through quickly.


I'll let the rest of this post speak for itself through photographs. What a wonderful journey this was.


The friends I gifted it with really love it. I am looking forward to making something like this again soon. Maybe on a glass plate, maybe like this one, on a board and framed. I have to say I loved the experience and felt I learned that although the original design was kind of lost, it didn't take away from the final results at all.


Support Independent Artisans, Designers and Crafters for your gift-giving needs all throughout the year. Thank you!~Cindy, EarthMotherMosaics


Tuesday, January 21, 2020

Tesserae Tuesday

Hi everyone! I'm back!!
 
The last blog post I wrote was in October of 2018. A computer crash slowed the process but eventually I found a laptop did just fine for most things but was a challenge for blogging. I gave it up for a bit thinking maybe I should just move on. I missed it sometimes, the people's responses definitely. I had a small fan base, but I had one. So here we are ... a brand new year and it's time to share what's been happening in the attic I call home and studio.

I thought I'd share the Christmas gifts I made over the next few posts. A few have still not been gifted which means they'll wait to be shared through social media.

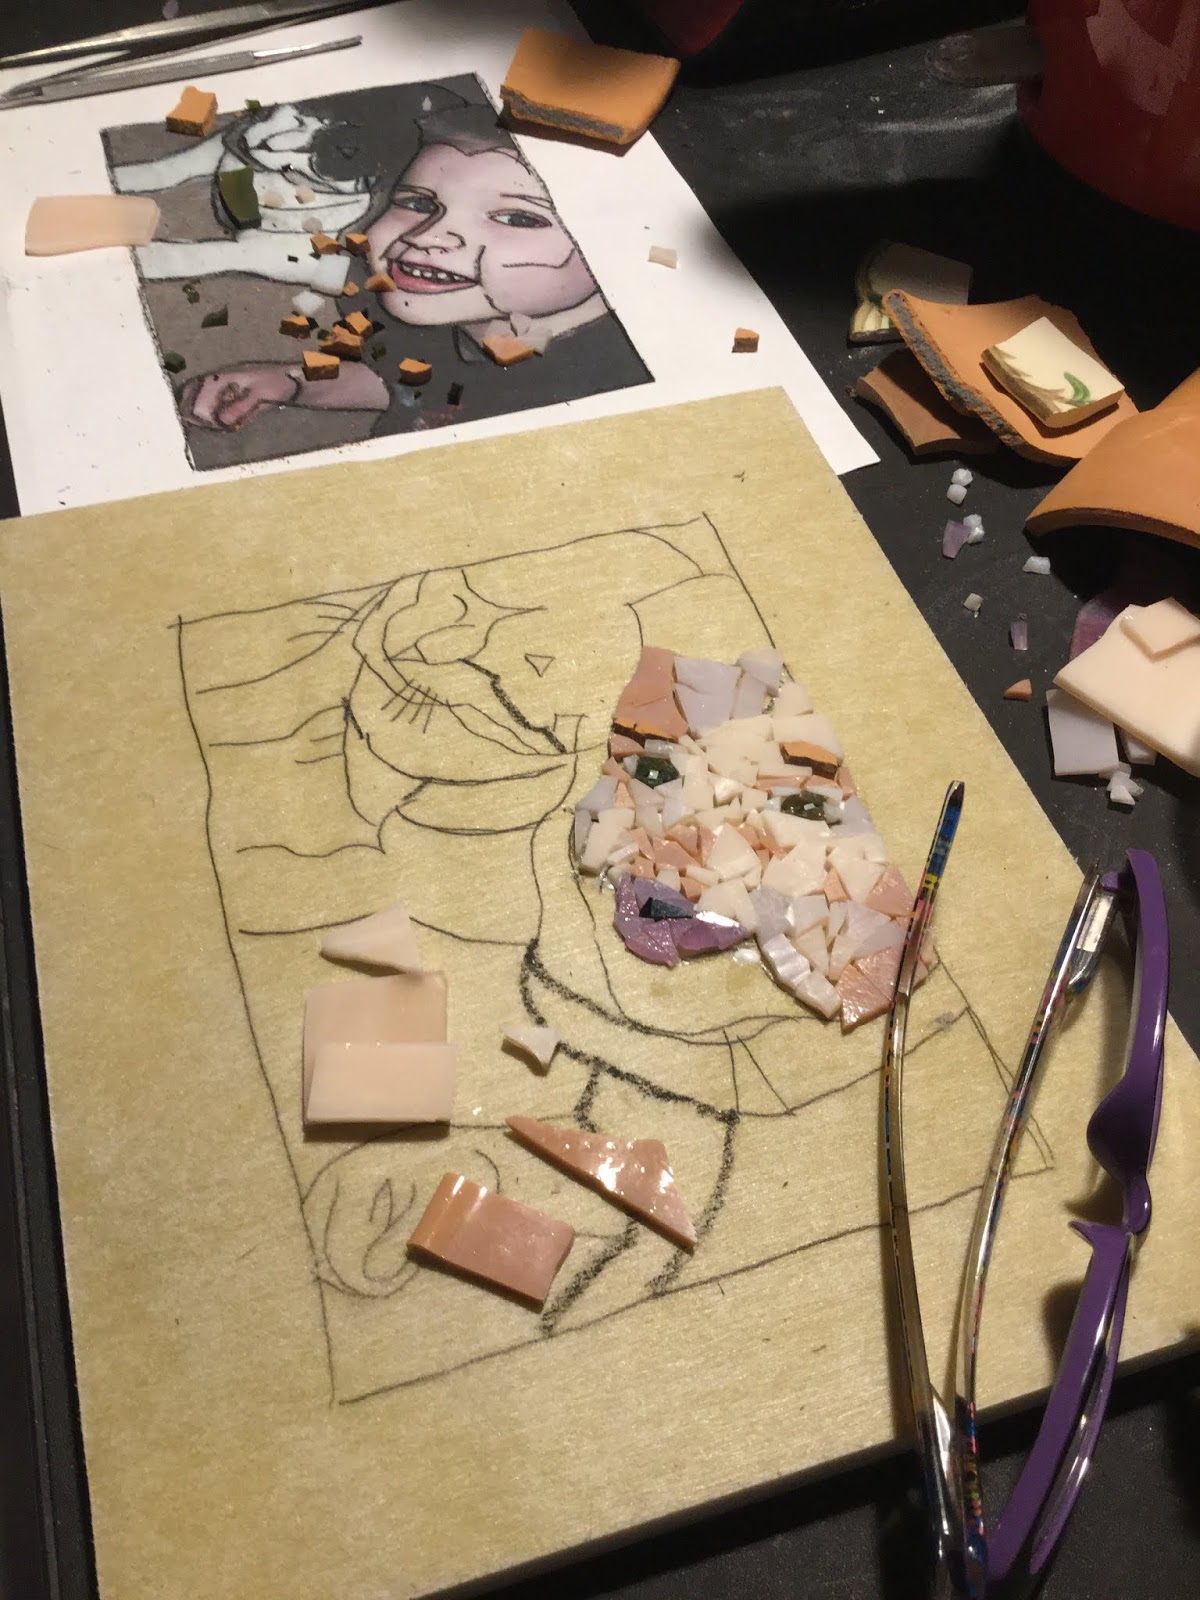
This first one, Malachi and Gypsy, was adapted into mosaic from a favorite photo of mine.


I'm normally leery of doing portraits because they are so precise. However, much to my delight, this particular photo was not as difficult to transfer into mosaic form. I can only assume the spirits that help me in the creative process knew it was time, and gave me permission to use my mosaic magic.

I started by printing out the photo and tracing it using carbon paper onto the substrate. By the way, these substrates are fantastic. If you're in the need for easy-to-use and lightweight boards that are good quality and affordable (and don't leave a mess like Wediboard does), I highly recommend using these. I'll share the link at the end of the post for those who are interested.*

After the tracing was finished, the fun part begins! Adding features in stained glass is not easy. Shading has become easier, which means I'm learning and reaching the next plateau. The hardest part was his smile. I couldn't add teeth, although I did attempt it. I had to change his lips a few times and lost his smile a little in the end. These two photos show the original set of lips which looked great. In hindsight I should have left them be. That's the only thing I'd try to change if I were to do it again.


Below, his smile is gone but I didn't really see it until it was completed. I used a few small pieces of a terra cotta pot for his eyebrows. I had dropped a pot and kept the fragments, knowing I'd use them in something. Viola!


The polka dot pieces are from a broken dish my daughter had. Since this was going to be her gift, I thought it would make her happy to see them used in this way.


After the tessera was all glued down, it was time to grout. Three colors were used, light brown, grey and black. Using painters tape to cover the mosaic I wasn't grouting as I added each color was essential. As you can see from the photo of the taped mosaic, it works well.


Once the mosaic was ready for framing (not yet glued together in the photo below), I added a peace sign (my signature in 2019) to the bottom right corner.


It's hanging in their hall where everyone can see it as they walk through.


*You can find the substrate I used, skeewbacker board, from https://www.skeew.biz

Note: This is not a paid endorsement, this is true love for a great product! ;-) Enjoy!!


Support Independent Artisans, Designers and Crafters for your gift-giving needs all throughout the year. Thank you!~Cindy, EarthMotherMosaics


Monday, October 22, 2018

Mosaic Monday and a Shout Out for Plaster Bandages!

It's been a while since I've written a post and having to pull myself away from the creative table was not easy when the muse wants to play. However, I wanted to share with you all a blog post recently written by the awesome Callie Teston @OrthoTape.com who dedicated a blog post to my art. I was asked in an email in September how I liked their plaster cast bandages and if I'd share some photos of how I use them. I do love using these strips and their prices are well within my budget. I try to get enough to last for a while, so when the muse is ready to play with them, I can get right to it. I've shared many things I've created with the plaster cast strips over the years and here are a few photos to show exactly how I've used them.


And here are the newest ones: the Wonder Woman inspired mosaic shoe, the Celestial gazing ball and the wine bottle cat! All featured in Callie's blog post which you can read here.


I want to thank Callie Teston @OrthoTape.com for sharing my work with their customers and for showing just how versatile these bandages can be.

I highly recommend OrthoTape for your crafty needs.

Note: This is not a paid endorsement, this is true love for a great product! ;-) Enjoy!!


Support Independent Artisans, Designers and Crafters for your gift-giving needs all throughout the year. Thank you!~Cindy, EarthMotherMosaics


Oh The Vibes!

Ack, these high/low vibes right now (thanks Mercury Retrograde!). It's exhausting. Of course I have some art to share, as I always will ...