Monday, May 5, 2025

Cement Board For Mosaic --- What Was I Thinking?!

Many mosaic artists I've come in contact with have used cement board for their mosaic art. Many hang them on outdoor walls or place them in their home framed. Kudos to them because I don't know how they do it!

About 15 years ago I was given a few pieces of scrap cement board from someone who was in construction. I asked them to cut it for me into reasonable sizes for handling and putting mosaics on and I gave one of the finished mosaics to the person who gave me the boards as a thank you for thinking of me. The rest I gifted to charities or sold them without hanging material attached to the back, suggesting framing or placing on a shelf for display if the shelf was sturdy enough. I made 4 mosaics on these boards that were cut to about 6 inches in size. There were a lot of wasted small pieces that I wasn't able to use, unfortunately. And I don't have any photos showing these mosaics. I took pictures of course but used a digital camera putting the photos on CD's using a computer. They're no longer compatible with my computer now. Oh well. I'm okay with letting them go. The quality of the photos were probably horrible anyway! 😂

In September 2024, shortly around my 70th birthday, I decided it was time to get more board and cut them myself, mosaic them and hang them above my windows and door frames in my room. We tried, my son-in-law and I did, to cut this board with the wrong tools. He did manage to get 5 long boards cut for me measuring 3 feet by 1 foot each using a lot of the wrong tools: a box cutter (I know ... wrong!), a jigsaw (the blade went dull after the third try ...) and finally elbow grease and a lot of force pushing on the score lines. Exhausting work but he did it. I purchased a few hand saws that were supposed to be used for these boards.

On the left: Backer Board Scoring Knife
On the right: Flush Cut Hand Saw

I didn't ask my SIL for help at that point thinking I could do it myself. It wasn't easy. I managed cutting down 2 of the boards into about 12 inches each using the tools I show above before I gave up and they are not exactly straight around the edges either. I don't care. 😑


At the moment, I've been walking past these boards each time I enter the Purple Palace and although I really thought I'd figure out a way to hang them securely above each window and door, I finally gave up on that idea. I had visions of them falling from their high perches and crashing to the floor, or worse, smacking me in the head as I entered or exited through one of the doors. Cement would hurt and do major damage if it hit me on the head. The extra weight from a mosaic would also be a thing. Just too much weight for what I wanted to do.

There are lightweight boards available and when I figure out if I can afford them (the Backer Board was very inexpensive which was the selling point for me), maybe a little at a time ... I will get them instead for this project. I still want to add art above the windows and door frames, just not something so heavy it could kill me if it fell.

Meanwhile I'm wondering what the heck will I do with these?! After doing some research I learned the cement would accept the liquid medium I use for collage! As well as acrylics!! That's a wonderful thing to discover! Yay! 😎 I image these panels will all have some kind of collage on them as well as getting some paint on them too. Huzzah!👌


Cement board and acrylics - leave it as is or do some collage?
 

Then the thought I had: where the heck am I going to put all the panels and boards when they've got art on them?! They won't go outside, I don't really have that option anyway but I'm guessing paper and acrylic paint wouldn't do well under all 4 seasons here in PA.

And so, we shall see where these all end up. I'll definitely share the development of art on them as I go along here on my blog.

I do have to ask myself however ... what was I thinking?! I don't know why I thought I could use cement board for high above my head thresholds but I now know I have the option to get creative on some boards that will eventually get placed here and there within my room.

If there is a moral to this story to remind myself of how to approach creative endeavors, I'm guessing it's mostly: plan things out a little better and really think them through!

Remember to do something creative as often as possible! It's good for the soul.

Enjoy the journey.

Cindy aka EarthMotherMosaics

https://artbyearthmothermosaics.com


Thursday, April 17, 2025

Sticker Doodles Book Fun

It really is fun to spend a rainy afternoon cutting out pieces from old doodle art, magazines and even the paper wrapped around coffee creamer and make them into stickers to use in my Sticker Doodles books. Seriously, it is FUN!

I cut these out yesterday using double-sided sticker paper. I was sorting them but got side-tracked and just continued to cut and put into a big bag for later sorting. No clue when that will be.

Click on photos below to enlarge them for better viewing.


This book is 8 x 5.5 inches. I'm using everything I can find to make a page a theme but sometimes I just slap the darned things down and doodle around them. I have noticed I do try to use similar colors when an actual theme isn't obvious. So that's at least something.

After this book is finished I might start in on a new junk journal. I've still got the art journal to finish but that's a continuous work-in-progress and I don't work with it every day. It is coming along nicely, however.


I'm not finished with this page yet. I like it so far. I'm finding the way to be freer within each page. That's a very good sign and something I struggle with when I paint.


Enjoy the journey.

Cindy aka EarthMotherMosaics

https://artbyearthmothermosaics.com


Wednesday, April 16, 2025

Progress on the 100 Day Collage Challenge

I've almost filled up this book. Once it's last few pages have a square on them, it'll be 80 days worth of collage.

I've learned a few things but still have so much more to learn. I do this by practicing every day. Not just with collage, but also still with mosaic and doodles that I've done for years, watercolor, and the newer fun of learning how to create junk journals, sticker books, art journals and painting/doing collage on cardboard of all kind.

For this 100 Day Collage Challenge, I gather the hand made collage papers I've made and put them together for use to make sure I like them together. These are the ones I am working with now.


I have discovered I'm using too many in a small space. So the next group of 5 will be less. I have so many papers I tend to keep grabbing thinking I'll have no problem filling in the 3-1/2 inch space. Even after months of creating them, I finally realized using less would make the small space more cohesive.

I often just rip them if they're not difficult to rip. Sometimes I cut them. I decide that once I start the new first set of 5 and go with that theme until the next set. I have to tape down the page I'm working on now because I'm so close to the end of the book.

As I shared before in a previous post or two, once 5 days are finished I glue the papers onto a separate board. I have almost filled up 3 boards.

I don't have boards in this size now, so the next grouping will be on something that I haven't decided on just yet. I have a lot of wood floating around that I use for mosaics, so it's possible I will use some pieces to add collage to. Actually it's very likely.

Here's a few of my favorites so far from the book.

The big black "O" was painted on paper and cut out, the center part as well, to add here.

An experiment with the wrong kind of paper and coffee produced some crumbled globs that I kinda dig a lot. A piece is along side the 3 black dots, upper right. What a great texture!

All of these papers were one-of-a-kind and I'm mourning them. They were so pretty. Almost all of them came from the rubber roller clean off from Gelli plate prints. Many I've been using come from it, more than the Gelli plate prints because they don't always work out too well but you gotta clean off the roller before the paint dries. The exception is the bottom right which is a piece from a watercolor I did.

I'm really enjoying this path into a new (to me) art form. Please stay with me if it's enjoyable for you as well. And if it's not, thank you for staying so long. I'm very grateful.

Until next time ...

Enjoy the journey.

Cindy aka EarthMotherMosaics

https://artbyearthmothermosaics.com


Tuesday, April 15, 2025

Oatmeal Box Collage Makeover

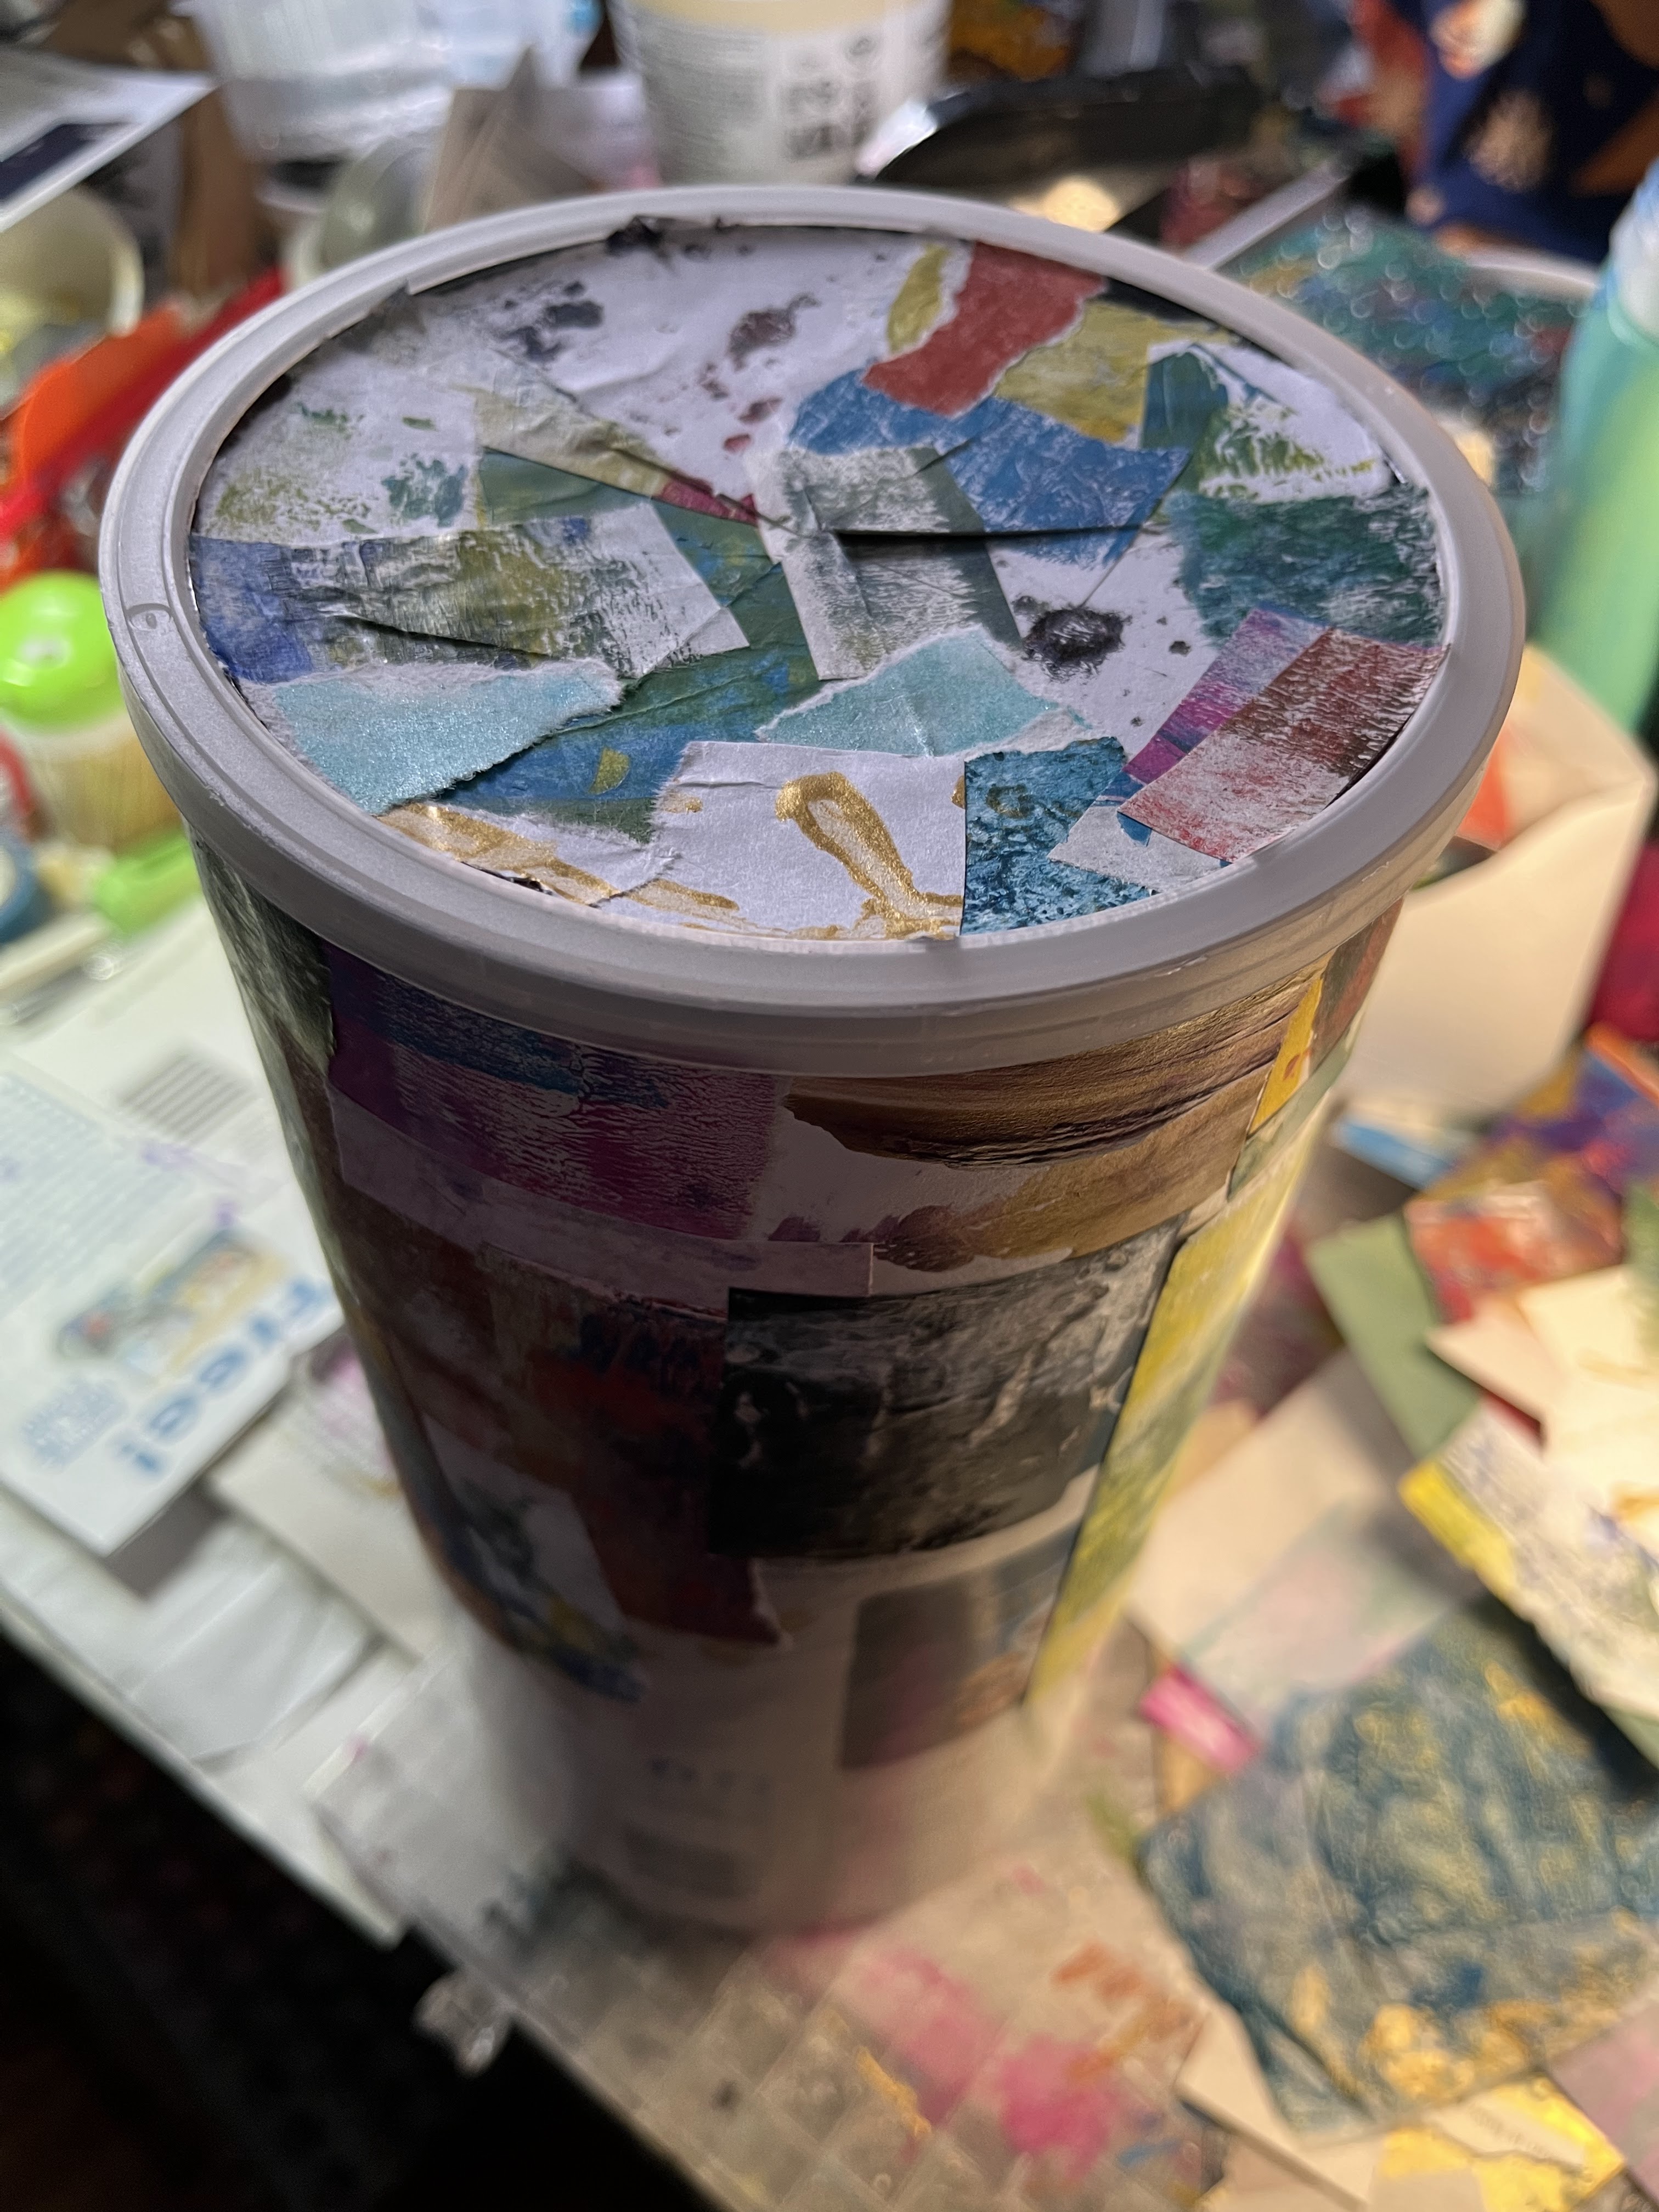
Yup, that's right, I put a collage on an oatmeal cylinder box and am now using it to hold my grocery plastic bags and shop cloths.

I covered the entire cylinder with pieces of collage papers randomly, my favorite way to collage, not much thought, just used intuition.

I cut a nice sized slit in the center of the lid to hold both bags and cloths.

One of our cats, Gaara, attempting to get to the art table because he loves the cloths I use (similar to microfiber his all time favorite to steal). What a goofball. And PS: he didn't get one.

The slit is big enough to hold both bags and cloths and easy to refill when they get used.

This is pretty cool!


Enjoy the journey.

Cindy aka EarthMotherMosaics

https://artbyearthmothermosaics.com

Monday, April 14, 2025

Mosaic Monday

It's all about dishes this Mosaic Monday!

Over the years I've put hand cut stained glass, mirror and dish tiles on old plates from microwave ones to much beloved but very scratched dinner plates making them mosaic art. 

Just walking around my room I found enough examples to take photos and share here. Check it out!

Dinner plate - I still use the other I was given for daily use.

Salad plate - I still use the other one of this as well.

Glass-on-glass mosaic plate. Really regret the grout choice here. It's actually a very light brown but is too light for the pastel colors I used in glass here. Black would have been the better choice. I might eventually regrout in black.

Same glass-on-glass mosaic plate in the window. The only way to really see the lily and water is in a window or with a strong light behind it.

This is an oldie but goodie. Was retired from Etsy a few years ago and now lives me with.

Same plate as above in the window. I love glass-on-glass mosaics for this very reason.

Tiny bowls with a little mosaic design in them. I have a lot of these little bowls in my stash just waiting for mosaic inspiration.


These three plates above (2 microwave and one dinner plate) are all listed on Etsy under Stained Glass Plates. Head over there to see more photos if you're interested.


Enjoy the journey.

Cindy aka EarthMotherMosaics

https://artbyearthmothermosaics.com


Friday, April 11, 2025

Art Tray

In 2024 I purchased a wooden tray I was going to mosaic and send to my family in Norway. Before I got very far in the mosaic process it cracked and split in quite a few places making it impossible to put a mosaic on it. It wouldn't stay in one piece, I knew.

 If you'd like to see the original plan for this tray, you can read the blog post I wrote about it and shared the set up with some of the mosaic tiles I was going to use here and here as well. I ended up purchasing more tiles and still have many of them. They are shared in the second post.

Meanwhile, I repaired the cracks (blessings sent above toward my woodworker Father who taught me how to do these things!), primed it and let it sit for a year unclear on what to do with it. I do that. My projects wait for me, however. They are not in a hurry to be made until I am ready to make them. This is why I love them. They are patient.

Now that I'm discovering my way around collage, I decided to get this tray out of the garage, put some cork pieces on the bottom, paint it and collage it. And even better, use it!

Magenta, turquoise, yellow and black acrylics. The yellow is sponge-painted on the tray creating a green on top of the blue. Love it!

Here's the collage papers ready for ripping up and gluing!

All done! Reminds me of a fancy scarf design. Awesome!

The tray is now sitting on my art work table holding paint, brushes, glue sticks and other assorted supplies.

It may have taken a year or so but I love it's transformation now. 


Enjoy the journey.

Cindy aka EarthMotherMosaics

https://artbyearthmothermosaics.com


Thursday, April 10, 2025

Making Collage Papers - Embellishments

When I have a good amount of papers that I've pulled from the Gelli plate or painted on junk mail or book pages, I sort them into Warm, Cool and Neutrals. Sometimes I find these papers are a bit boring or aren't really worth even a corner of the paper as they are.

Example:

Not much there I can use as it is. These kind of papers are put into a folder and I'll add something to it in acrylics at some point. 

Once the folder starts getting thick from papers, I sort them. I decide if I want to keep them as they are or paint on them.

Keeping this as it is. Even though it's muddy and a bit dark, I love the squares I did while the paint was still wet using the tip side of a paint brush.

Paint will go on this one. This was a test to see how many colors I could get by using a limited palette.


Most will get some kind of embellishments. I do love to grab a brush and some black paint the most and just mindless draw circles or brush strokes to it.

Love these!
 

There is a lot of prep work that goes into creating these papers. I really do enjoy taking part of the day and pulling out the future artwork to see what I can use to make a collage.
 

Enjoy the journey.

Cindy aka EarthMotherMosaics

https://artbyearthmothermosaics.com


Soup Weather is Upon Us! Yay!!

My daughter and I are making beef barley soup (more like a stew) as I write this today. I don't usually make my blogs about food but I...